
# Acurite Weather Station Installation Guide
Installing an Acurite weather station can be a rewarding experience, providing you with accurate and real-time weather data right at your fingertips. Whether you’re a weather enthusiast or simply want to keep track of local conditions, proper installation is key to ensuring reliable performance. This guide will walk you through the steps to set up your Acurite weather station correctly.
## Choosing the Right Location
Before you begin the installation process, it’s crucial to select an optimal location for your weather station. The placement of both the outdoor sensors and the indoor display unit can significantly impact the accuracy of the data collected.
### Outdoor Sensor Placement
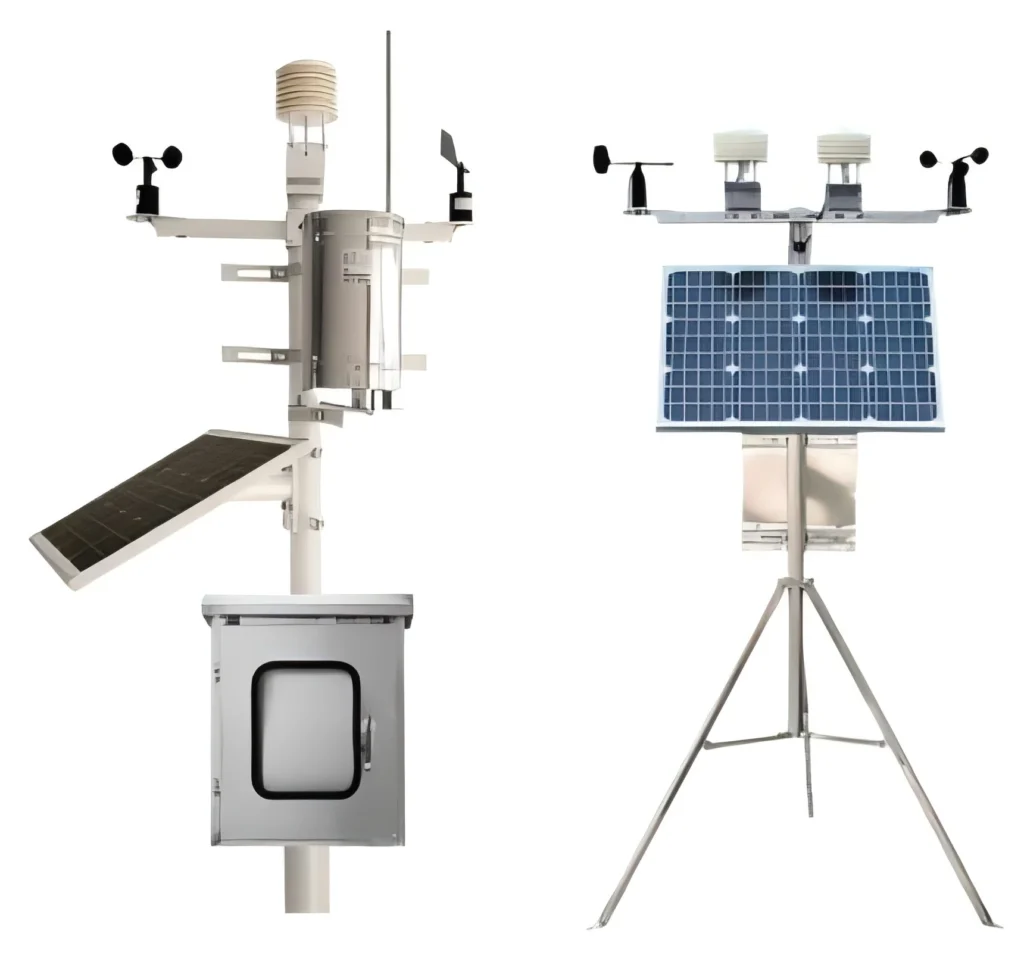
– **Height**: Mount the outdoor sensor at least 5 feet above the ground to avoid ground interference and ensure accurate temperature and humidity readings.
– **Exposure**: Place the sensor in an open area, away from buildings, trees, or other obstructions that could block wind or sunlight.
– **Distance**: Ensure the sensor is within the recommended range of the indoor display unit, typically up to 330 feet in open air.
### Indoor Display Unit Placement
– **Visibility**: Position the display unit in a location where it’s easy to read and access.
– **Interference**: Keep the display unit away from electronic devices that may cause interference, such as microwaves or cordless phones.
– **Temperature**: Place the unit in a stable environment to avoid extreme temperature fluctuations that could affect its performance.
## Assembling the Weather Station
Once you’ve chosen the perfect locations, it’s time to assemble your Acurite weather station. Follow these steps to ensure everything is set up correctly:
### Step 1: Unpack and Inspect
Carefully unpack all components of your Acurite weather station. Check for any damage or missing parts. The typical components include:
– Outdoor sensor
– Indoor display unit
– Mounting hardware
– Batteries
– Instruction manual
### Step 2: Install Batteries
Insert the required batteries into both the outdoor sensor and the indoor display unit. Make sure to follow the polarity markings to avoid damaging the devices.
### Step 3: Mount the Outdoor Sensor
Using the provided mounting hardware, securely attach the outdoor sensor to a stable surface. Ensure it’s positioned according to the guidelines mentioned earlier.
### Step 4: Set Up the Indoor Display Unit
Place the indoor display unit in its chosen location. Plug it into a power source if required, or ensure it has fresh batteries.
## Syncing the Devices
After assembling and placing the components, the next step is to sync the outdoor sensor with the indoor display unit. This process may vary slightly depending on the model of your Acurite weather station, but generally involves the following steps:
### Step 1: Power On
Turn on both the outdoor sensor and the indoor display unit. Wait for the devices to initialize.
### Step 2: Sync the Units
Follow the instructions in the manual to sync the outdoor sensor with the display unit. This usually involves pressing a sync button on both devices.
### Step 3: Verify Connection
Once synced, verify that the display unit is receiving data from the outdoor sensor. Check for accurate readings of temperature, humidity, wind speed, and other metrics.
## Calibration and Testing
After installation, it’s important to calibrate and test your Acurite weather station to ensure it’s providing accurate data.
### Calibration
– **Temperature**: Compare the readings with a trusted thermometer and adjust if necessary.
– **Humidity**: Use a hygrometer to verify humidity levels and make adjustments as needed.
– **Wind Speed**: Ensure the anemometer is correctly positioned and functioning.
### Testing
Monitor the weather station over a few days to ensure consistent and accurate readings. Make any necessary adjustments to the placement or calibration.
## Maintenance Tips
To keep your Acurite weather station in top condition, follow these maintenance tips:
– **Regular Cleaning**:
Keyword: acurite weather station installation